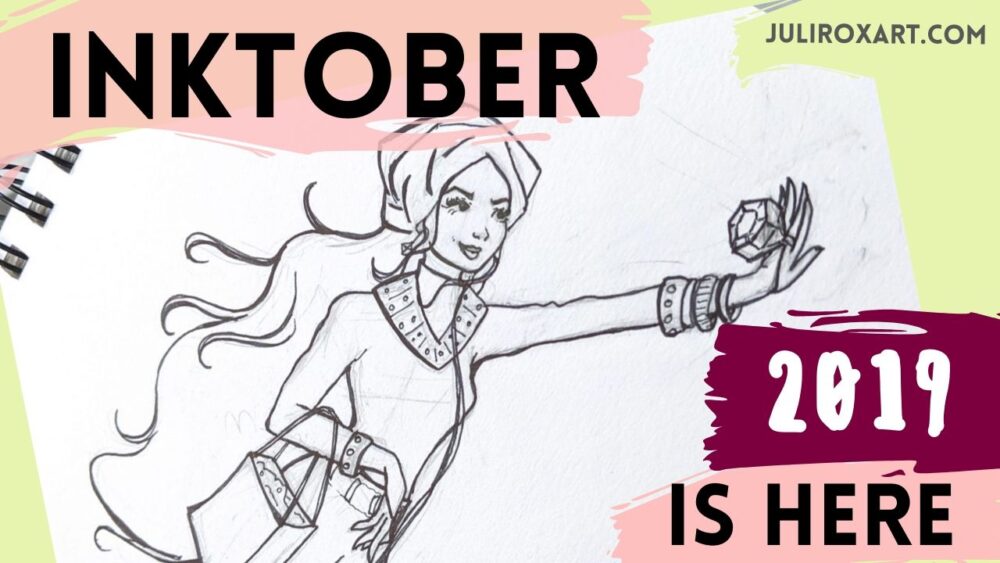
Deciding to dive into the world of art can be a very intimidating venture. As with learning any new skill, it’s difficult to know where to start in terms of supplies and materials.
When I started to learn how to draw back in 2016, I remember feeling so overwhelmed. These were just a few of the questions swirling through my mind:
- What supplies should I start off with?
- What qualities should I look for in a product?
- Which brands should I look at?
- Which resources should I look into when researching a specific supply?
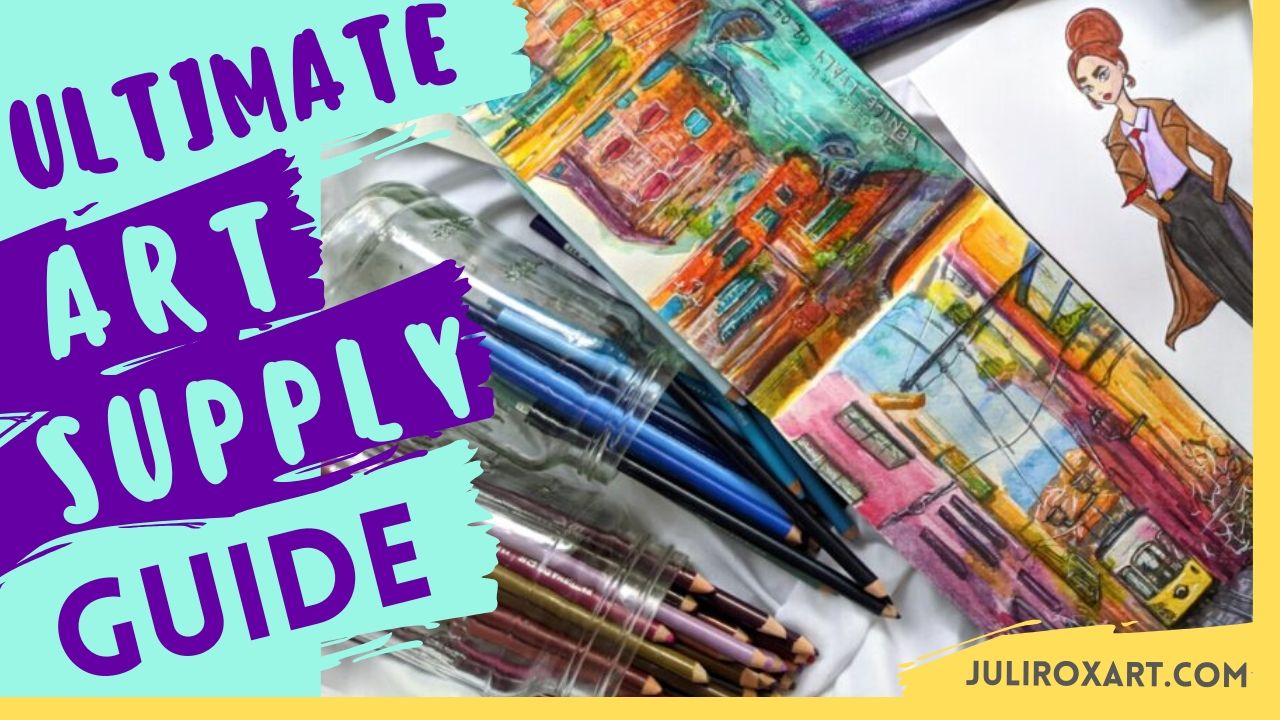
So, I’ve taken the liberty of crafting this ultimate guide to art supplies for beginner artists. Note that I’m still in the process of learning myself, so this post will be a living document. I’m beyond open to feedback if you have anything to add to this.
Without further ado, let’s dive in.
Terminology
To avoid confusion throughout this post, I’d like to define a few words.
Student-Grade: Supplies that are designed for people who are learning/experimenting rather than professionals looking to sell their work. These supplies are typically lower in pigment and higher in fillers, so it usually takes more of the product to get bright colors. The trade off comes with a much lower price point.
Professional-Grade: As the word implies, these supplies are created for professional artists. They’re very pigmented, with a low filler-to-pigment ratio. They’re typically much easier to work with than student-grade supplies. And of course, they’re also significantly more expensive.
Lightfast: A product with a high “lightfast rating” is defined by something that hold it’s color integrity over time. In order words, products that are significantly less prone to fading even in direct sunlight. For the most part, when purchasing professional-grade supplies, you are paying for the lightfastness of the product. Especially when looking to sell original art pieces, this is a must.
Throughout this guide, you will learn of the qualities to look out for when shopping for art supplies. There are many student-grade supplies that are relatively high in quality without the insane price tag; however, the vast majority of these supplies lack a high lightfast rating. So this is something to definitely keep in mind.
If there are details in this guide that you would like clarification on, please let me know in the comments as I’d like to continually improve this page for future readers.
Okay, now let’s get on with the show!
Sketchbooks & Paper
When starting off with learning art, the very first thing you’ll need is a sketchbook and pencil.
Since I assume you already have a pencil kicking around, let’s talk about sketchbooks.
A few things you want to keep in mind are: size, weight, and binding.
Depending on your medium of choice, you might need to look into material as well.
Size – Sketchbooks
Size is all up to personal preference. You might need to experiment with different sketchbooks to settle on one that you enjoy. Large sketchbooks can be intimidating when starting off—so keep this in mind. Small sketchbooks are of course more portable, so if keeping your sketchbook in your bag to doodle while you’re out and about is your M.O., then consider going for a 5.5 x 8.5″ one (or even 3.5 x 5.5″).
I personally find these sketchbooks a bit to small, so I opt for a 7 x 10″ book. Play with different sizes, and find which one suits your lifestyle the best.
Weight – Sketchbooks
Paper weight is very important to consider as well. If you’re only focused on sketching, then any blank notebook would suffice. Some sketchbooks come in different shades (e.g. Strathmore’s Toned Tan sketchbook, or their Toned Grey version), which look interesting when using both graphite and colored pencils. I typically stray away from those with a toothy finish—and unless you enjoy a rough drawing experience, I’d recommend you do the same (although it depends on your preferred medium).
If you’re just starting out and would like to dabble in different mediums, versatility is key. Getting a mixed media sketchbook in this case is a smart choice, since they usually have 90-110lbs paper. Paper weight is associated with it’s thickness; regular drawing/printer paper is about 60lbs, mixed media is around 100lbs, and watercolor paper is closer to 140lbs.
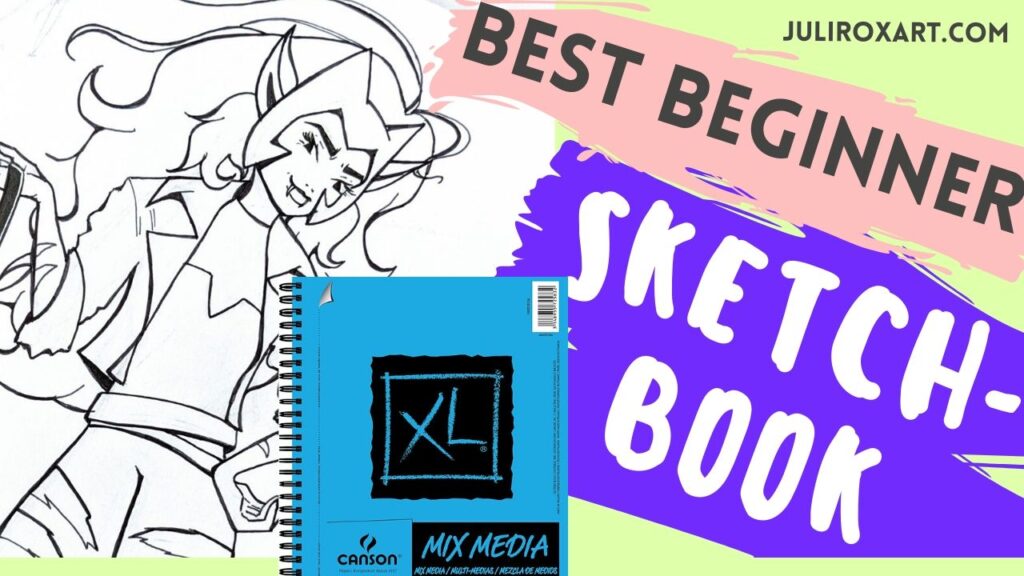
My sketchbook of choice is the Canson Mixed Media sketchbook in size 7 x 10″ (check out my review here: Best Sketchbook for Beginner Artists – Canson Mixed Media Sketchbook). I absolutely love the size and versatility of it. It’s littered with some pencil sketches, colored pencil illustrations, watercolor scenes, and gouache characters. I love that I could use a single sketchbook for everything.
Binding – Sketchbooks
Note that many artists—especially landscape artists—tend to go for watercolor journals, which for the most part are perfect bound, rather than spiraled. This allows for the journal to lay flat and give artists the option of creating a continuous piece in the form of a full spread. So determine whether or not you have a specific goal, or would just like to experiment before buying a sketchbook. I honestly prefer spiral bound sketchbooks as a whole because I like the option of folding the pages over. Especially if you don’t have a flat surface to work on, I find it more comfortable—but again, this is just my preference.
Below is the work of gouache artists Jessie Home. I discovered her Instagram account last year, and have been a huge fan since. She’s using the Pentallic Watercolor 100% cotton journal:
Material – Sketchbooks
In terms of material, some sketchbooks are made with a certain amount of cotton. If you plan to work solely with watercolor, then note that cotton paper is much more absorbent than wood pulp paper. It allows for layering without much warping, and quite honestly takes the experience to a whole new level.
Many watercolorists will tell you that you can get away with cheap brushes and paints, but not to skimp out on the paper. 100% cotton paper is definitely pricier than regular paper. In some cases you can find sketchbooks with 25-50% cotton, according to urban sketch artist and YouTuber Teoh Yi Chie, most of them behave like non-cotton paper.
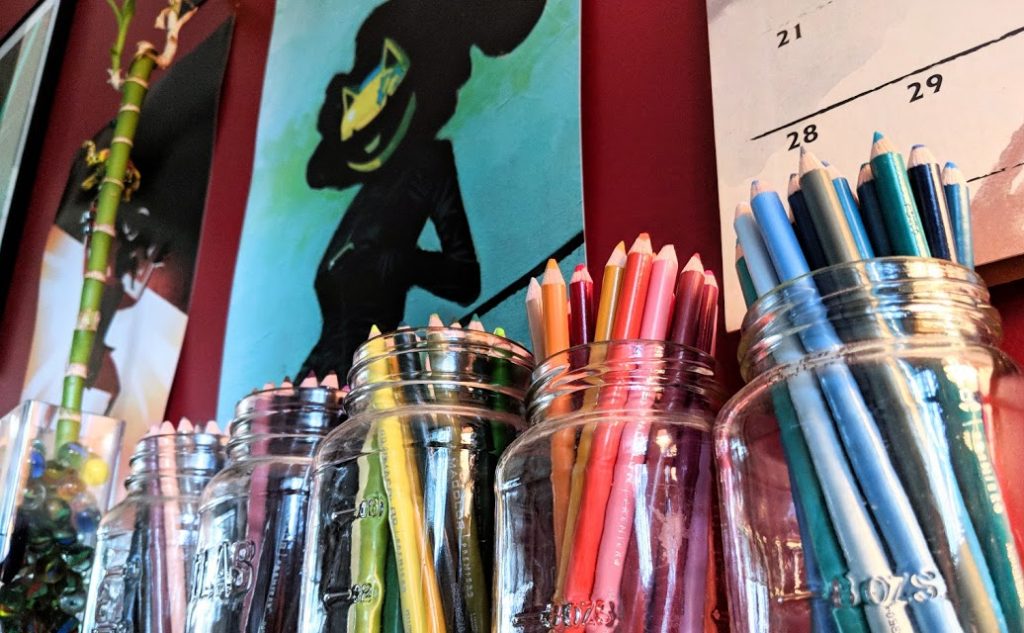
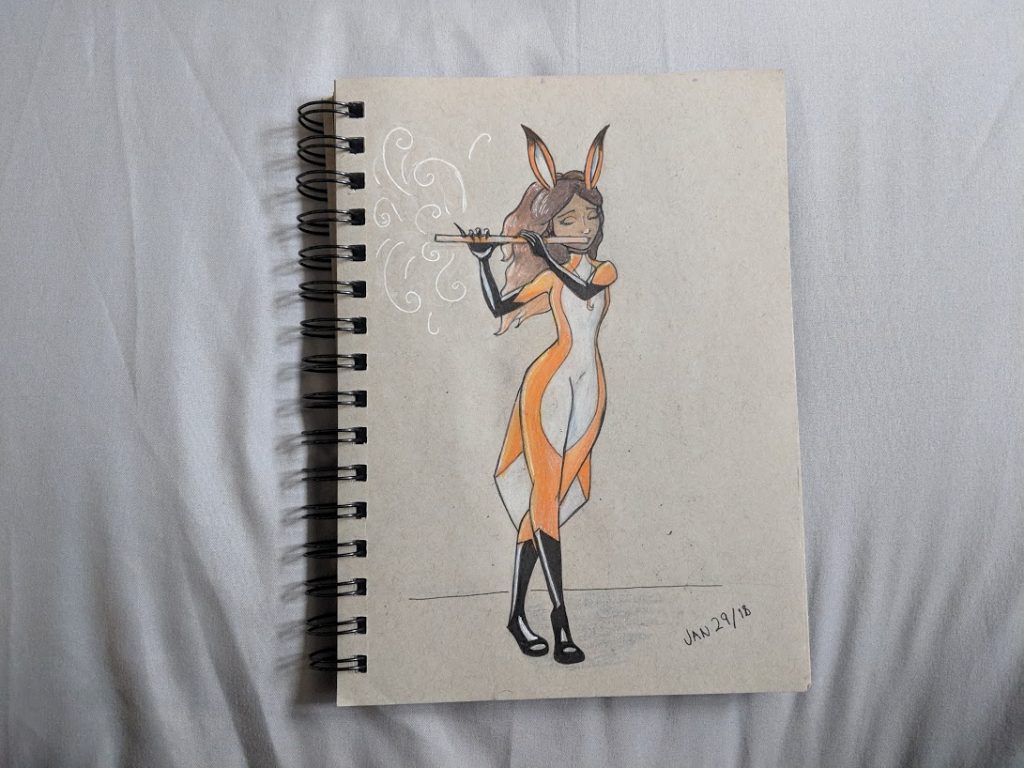
Colored Pencils
Colored pencils are a fantastic medium for learning how to place colors in general. Mostly because a set typically comes with many colors, so you don’t need to worry about creating your own.
Also, colored pencils offer much more control than, say, watercolors. We’ve all used a pencil before. And likely we’re familiar with colored pencils as well, even if back in the grade-school days. There’s not much of a learning curve here. And the medium itself is very forgiving. In many cases, erasing a colored pencil marking will lift the color significantly, so you can get away with lightening your mistakes.
Ultimately, colored pencils break down into the following features: regular vs. soft core and wax-based vs. oil-based.
Core Type – Colored Pencils
Remember those Crayola pencils you used back in 3rd grade? Yup, those were regular colored pencils. And many artists use those to date, especially when adding texture on top of other mediums. If you have some old Crayola colored pencils kicking around, play with them. See if it’s a medium you’d like to pursue further. And if the answer is yes, you can begin to look into “soft core” options.
There are two very popular brands of soft-core, artist grade colored pencils: Prismacolor Premier and Faber Castell Polychromos. Of course there are many others, but upon your research, these two will likely come up more than any other brands.
The Prismacolor Premier line is applauded by many artists. They are definitely much more expensive than regular colored pencils, but you’re paying for their soft core, higher pigment-to-filler ratio, and blendability (did I just make up a word?). These colored pencils can be layered quite a bit to create some beautiful effects—which is where many regular colored pencils fall short.
Wax vs. Oil – Colored Pencils
Unlike the vast majority of regular and soft-core colored pencils, the Faber Castell Polychromos line is oil-based (whereas most others are wax-based). I’ve yet to work with oil-based colored pencils—outside of test stations at art stores—but based on other artists’ reviews, oil-based colored pencils just melt onto the page. It supposedly takes the experience to a whole new level.
Overall, if you want to give soft-core colored pencils a shot, I’d go with Prismacolor Premiers since they are not only an artist-grade supply, but they tend to go on sale on Amazon. I purchased my set of 132 at CAD$40 on Black Friday a while back. This set normally retails for over $100. A deal like that probably won’t come around anytime soon, but definitely keep an eye out for a steal.
Below is a demo between Premiers and Polychromos by Angie K. Art:
Other Factors to Consider – Colored Pencils
Prismacolor also has a line of student-grade colored pencils. They’re not advertised as having soft cores, but Prismacolor Scholars are still quite soft. and much more affordable. They’re sold in a sets of 24, 48, and 60—the 24 set retailing for around $15, but I’ve seen it go on sale for half the price.
Prismacolor also offers a “colorless blender” which allows for a cleaner appearance in colored pencil pieces. This typically needs to be purchased separately. It can be found on Amazon, but is honestly cheaper to purchase via open stock at an art store. I purchased mine for CAD$2-3 at a Canadian store called Opus.
See Robin Vance’s review of Prismacolor Scholars below:
Alcohol Markers
Alcohol vs. Water-based – Alcohol Markers
Alcohol markers are perfect if you’re looking for flat and bold colors without worrying to much about mixing your own.
I’m sure we’re all familiar with felt-tip markers back in the Crayola grade-school days, but there’s one jarring difference between those and alcohol makers: grade-school markers are water-based.
So when you were drawing your masterpiece in class and decided to color a background in with a waterbased marker, it was anything but flat. You could see every stroke. Layering just made your marks darker. And if you overworked your piece, theink would eat away at your paper.
Alcohol markers offer the complete opposite experience.
Because alcohol doesn’t eat away at paper, you could layer these pigments without doing any damage to the integrity of the piece. They can be reworked, even after they dry; can be blended into a beautiful gradient; lay flat; and resemble what it would look like if you printed out one of your favorite cartoon characters off of Google images.
I recall being mesmerized when watching speedpaints of people using alcohol markers and similar to the perks of colored pencils, you can totally get away with not mixing your own colors—but instead slowly dabble in the art of blending until you’re ready to take the next step.
Have a look at Sara Fabrizi’s alcohol marker speedpaint to get a sense of how flat the ink lays:
Nibs: Bullet, Chisel, and Brush – Alcohol Markers
When searching for alcohol markers, you want to look at the different nibs that are offered. Bullet nibs are likely the type that you are most familiar with, as Crayola and grade-school markers have this type of nib. It’s hard and small, and is designed for coloring smaller details—not so much for filling in large areas. This is doable, but it’s challenging to get a flat appearance.
Chisel nibs are like those found on a standard highlighter. They’re wider, hence better for covering large areas.
And then there are brush-tip markers. These do the job the of above two and then some. You can get into finer spaces, while also filling in large areas. The brush nib is much more flexible, so facilitates blending and a much seamless appearance. A brush-tip alcohol marker is truly a game changer.
It’s also pricier.
I’ve tried many bullet/chisel-tip markers, and didn’t find the experience satisfying. It wasn’t until I got my hands on some brush-tip markers when they really started to sing.
After this point, for about half a year, alcohol markers were my favorite medium. If I knew that a brush nib would be a game changer, I wouldn’t even give my other markers a second look. But this is solely my opinion. In general I’m a huge advocate for buying cheaper supplies with solid value, and working your way up to the artist brands. Because when you’re starting out, exploration is the name of the game. You don’t know which mediums will speak to you, until you try them all.
So if you’re looking to test out alcohol markers, I highly suggest the Ohuhu bullet/chisel set. For bullet markers, they have the best reviews. And they’re affordable as far as these markers go.
If you want to dive straight into brush tip markers, Ohuhu came out with a brush/chisel version late last year. It has fairly solid reviews and is relatively affordable. I opted for my Master Marker set, which is fairly difficult to come by. But I absolutely love them. If I need to restock in the future and can’t track them down, I’d probably go with the Ohuhus.
Below is Natalia Madej‘s video comparing Ohuhu brush markers with Copics:
Top Brands – Alcohol Markers
Prismacolor offers brush markers that are part of their Premier line. However, the brand Copic is the queen of alcohol markers. They’re what professional illustrators use. . . and they’re also insanely expensive. For a set of 72 as part of their flagship line, they come to USD$320. But don’t fret! They have a cheaper line that hold less ink and cost . . . USD$200. Ouch.
What you’re paying for here is not only the brand, but a marker that’s refillable and offers every color under the sun. Markers that can be refilled are a key note of alcohol markers. The idea is, you save on them over time (though at their prices, alcohol illustrations should be your livelihood for them to be worthwhile).
Additionally, lighter colors are difficult to find in alcohol markers, especially the budget-friendly ones. Copics have a wide range of colors, both light and dark which is why many people gravitate towards. But considering Ohuhu launched their set of 120 brush markers at a fraction of the cost, you’re bound to find some lighter tones.
One thing to note about these markers in general is that no alcohol ink is lightfast—so whether you spend $0.50 on a marker or $7.00, your work will fade over time.
And just a tip, working with absorbent paper makes for much more difficult blendability (yes, we’re using this word again). I have yet to try out marker paper, but find that my Canson Mixed Media sketchbook works pretty well, alongside regular printer paper.
Watercolors
Okay, I’ve been looking forward to this one. Watercolors are the current love of my life. But there’s still so much I haven’t explored. So take all of this information with a grain of salt.
Tube Vs. Pan – Watercolors
Watercolors come in either tubes or pans. Whichever you choice depends on personal preference. Pan watercolors seem to be more common because of their simplicity and portability. Tubed watercolors can be dried into pans, and are usually more worthwhile in terms of value.
I tend to stick to pan watercolors for the sake of convenience.
High Quality Vs. Low Quality – Watercolors
A measure of good quality watercolors are bright and transparent colors. Transparency allows for layering without colors becoming cloudy. This is especially important if you have line work underneath a piece that you want to be visible. Cloudy watercolors is a sign that a product has many fillers. You’ll typically her people use the word “chalky” when reviewing a low quality set.
There are many watercolor sets that have beautiful transparent colors, but what differentiates these $12 from a $60+ set is its lightfastness. Professional artists who sell their originals go for products with a high lightfast rating. This way, clients can purchase these pieces and have them uphold their color vibrancy for years.
Another defining factor of professional-grade watercolors are the vividness of the colors without requiring the user to dig a pan for the pigment. Bright colors should come easily in a high-quality set.
Recommendations – Watercolors
If you’re looking to dip your toe into watercolors, the best set you can purchase for the lowest price are Prang watercolors. These are bright and beautiful, and have the unique quality of exploding on the page using a wet-on-wet technique.
Watercolorist and YouTuber, Emily Artful, gave this product raving reviews:
If you’re hoping to get watercolors a step up from these, the best set with raving reviews, and my personal favorite, are Meiliang “Pretty Excellent” Watercolors. These paints are absolutely beautiful. It’s my current favorite set, and one of the top student-grade paints on the market.
Below is a video from my YouTube channel that uses the Mei Liang paints:
Noting the similarities between Meiliang watercolors and another well-sought-after brand, Paul Rubens, I emailed the retailer on Amazon asking about the differences. The assigned associate responded with the following:
Dear Juli,
Thanks for your inquiry, Meiliang paint is student grades, and Paul Rubens is Artist grades. Paul Rubens' diffusibility, vividness, transparency, durability, etc. will be better; if you are a beginner, you can buy Meiliang to test first. Paul Rubens will be your better choice if you have enough budget.
Have a nice day~
Eva
Then, I followed up asking about lightfastness, and received this response:
Dear Juli,
Thanks for your reply, yes the light-fast of Meiliang paints is good.
Have a nice day~
Eva
So Paul Rubens and Mei Liang paints are created by the same manufacturer. Which just so happens to be the next paints on my list. Paul Ruben watercolor pan paints are some of the most affordable artist-grade paints on the market. They have raving reviews.
Have a look at Lindsay the Frugal Crafter‘s review of the Paul Rubens 24 pan set. She also compares this set to the Mei Liang “Pretty Excellent” one:
If you’d like to test out tube watercolors, as far as student-grade paints go, Arteza tubed watercolors work pretty well, as do Royal & Langnickle.
See Tirameowsu‘s review of tubed Arteza watercolors:
Common artist grade brands include Holbein, Winsor & Newton, Qor, M. Graham, and many more. See for more recommendations via this article by Jessica Stewart: 15 Best Watercolor Paint Sets Both Beginners and Professional Artists Will Love
Acrylic Paints
As far as paints go, acrylics fall right in between intimidating and beginner-friendly. Because these paints are inherently opaque, it can be scary to paint on a blank canvas. In many cases, they require some color theory knowledge as they typically need to be mixed.
But because they’re so opaque, mistakes can be easily covered. So in this sense, they’re a great medium to work with for beginners.
Canvases – Acrylic Paints
Canvases come in a few different forms. There are canvas pads which are great for practicing on canvas-like material, yet in the form of a sketch pad, because they don’t take up much space. Canvas boards, which are canvas mounted onto a piece of strong cardboard. Some artists prefer working with canvas boards because they take up less space and are generally less costly compared to stretched canvases.
And finally, there are stretched canvases, which are easy to hang with just a thumbtack since they’re stretched and attached to a wooden board. The downside of these are their price point can get quite high, especially for the higher quality canvas, and they take up much more space because of their increased width.
Easels – Acrylic Paints
Canvases (minus canvas pads) are used on easels. You can opt for a floor easel, or a table easel. Floor easels can come in many forms. Some are made from aluminum and are simply designed to hold your canvas as you create; while others are made of wood and come with different surfaces and compartments to hold your paint. For the sake of saving space, I’ve opted for a table easel, but often stand and paint as I use it on my desk.
There are also en plein air easels with are designs for portability and extra surface space in mind for painting on location (en plein air = painting outdoors/on location).
Student-Grade Paint Recommendations – Acrylic Paints
I’ve only worked with a small handful of student-grade paints. My top brand is Liquitex under their Basics line. I adore these paints and find them very opaque for student-level paints. It’s not uncommon for beginner artists to test out acrylics via craft paints or those found at dollar stores. So if you have some kicking around, it definitely wouldn’t hurt to dabble in the medium.
If I decide to upgrade to a professional brand of acrylics I would go for the Liquitex Professional line of Heavy Body paints, just because it’s a brand that I know and trust. It’s also very well-known and highly rated among artists.
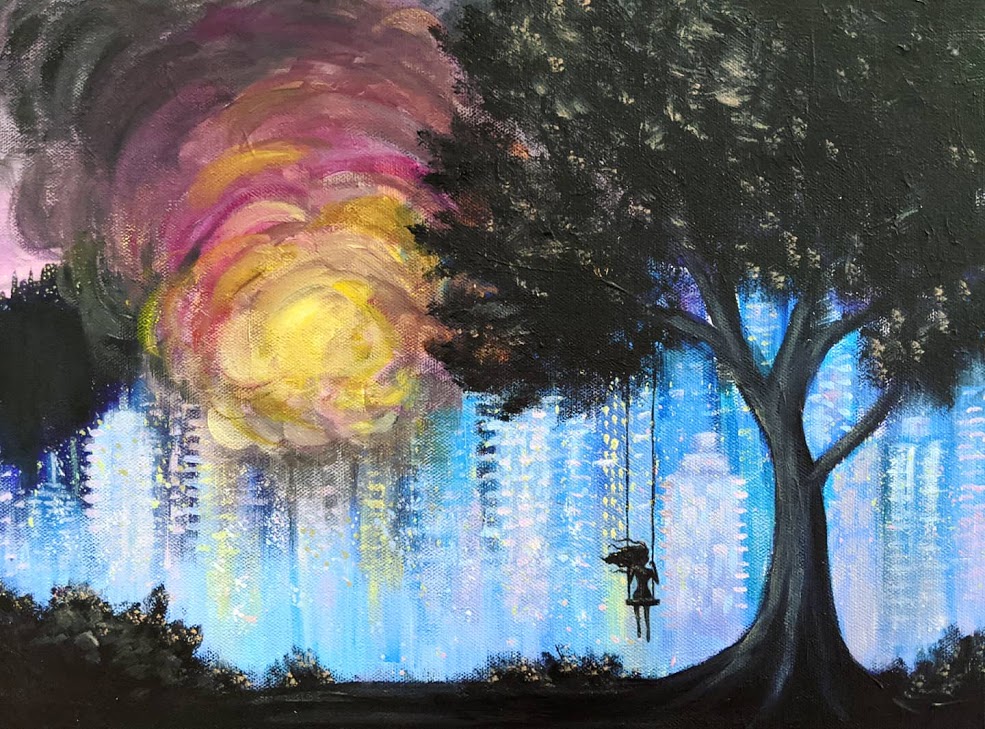
Here is a painting that I created recently using my Liquitex BASICS acrylics:
As I don’t have a lot of experience using acrylics, I’d like to point you to an article by Sara Barnes that goes over student and artist grade acrylic paints: 10 Best Acrylic Paint Sets That Both Beginners and Professional Artists Will Love
In addition, here is a YouTube video created by Robin Sealark comparing cheap vs. expensive acrylic paints so that you know what to look out for when shopping for your own set:
Gouache
And finally, there’s gouache. When starting out, I had no clue what this medium was. Upon researching, it was said to be a combination between watercolors and acrylics. So they’re water soluble like watercolor, but you can also use them straight out of the tube like acrylics. They also dry matte, which is a defining factor of gouache.
I honestly didn’t see their appeal until 2.5 years into my art journey. They’re versatility is incredible, and they’re pretty dang fun to work with.
There are two specific student-grade gouache brands that I would like to highlight here:
Arteza gouache which has incredible reviews for being a student-grade supply. And the HIMI/MIYA jelly gouache is an absolutely game-changer in the high-value gouache arena. This gouache set took the YouTube art community by storm last year, and have won over many artists with it’s value and quality.
A watercolorist and gouache artists, Arleebean, reviewed the HIMI/MIYA gouache set:
Also, have a watch through one of my videos as I stumble through gouache using this same set. Through covering up my mistakes in line placement and color choices, you can really see just how forgiving the medium is to amateur artists like myself:
As my experience with gouache is quite limited, I’d like to point you to this video by The Mind of Watercolor that goes over many different goauche brands and their advantages/disadvantages:
The Verdict
I truly hope that this guide provides a solid starting point when looking into art supplies to start your art journey. Learning how to draw is quite an incredible experience. I’m glad to know that you’re taking the first of many steps.
Remember to do your research and look up reviews. Make informed decisions with the supplies you decide to work with, because if you take a wrong step, a low quality supply might hurt your impression of an overall medium, and limit your use of something that can otherwise be quite enjoyable.
If you have any questions, don’t hesitate to reach out. And if any veteran artists, for whatever reason, clicked onto the blog post, feel free to share feedback on this resource. I will be updating it as I become more educated myself.
Please let me know if this guide is useful to you. And if it is, share it with your fellow beginner art friends.
Best of luck with your artistic venture!